Summary
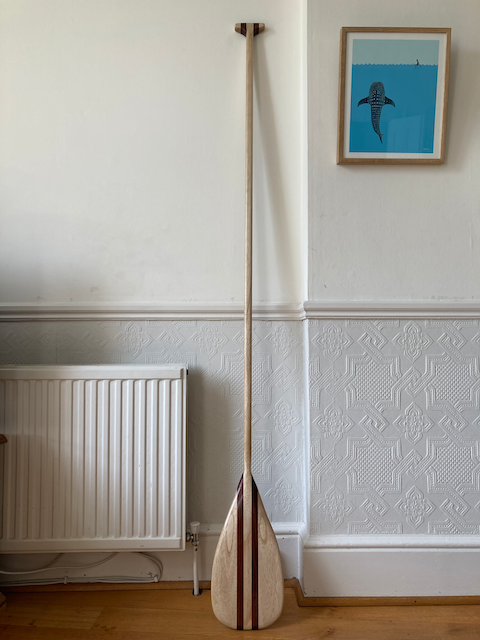
A lightweight SUP paddle, made from paulownia and red cedar and coated with bio resin. My first real woodwork project. A fun project, completed with hand tools, in the kitchen, during lockdown.
Inspiration
The original inspiration was this excellent two-part video from Jord’s woodshop.
Jord mentions a template for the paddle blade, which isn’t available on his site any more but is available from the Wayback machine here.
I didn’t have access to a printer, so I drew my own template, consulting this information-packed page from Blue Planet Surf, which explains how to choose a blade outline, profile, size and kickback (the angle the blade makes with the shaft), as well as the shaft length.
Two other sources of inspiration for the project were the beautiful paddles made by James Otter and Clearwood Paddles (part one, part two and part three).
Here’s a little bit of bonus inspiration.
Ingredients
- Six paulownia planks 5mm x 30mm x 2000mm
- Two paulownia blocks 15mm x 80mm x 1000mm
- Two red cedar blocks 30mm x 20mm x 500mm
- A bottle of D4 waterproof glue
- A bottle of Entropy Resins CLR with the fast hardener
- One plank of scrap wood, roughly 2000mm x ?mm x ?mm
- One board of scrap wood, roughly 2000mm x 1500mm x ?mm
- Wood screws
The paulownia and red cedar were sourced from Fyne Boat Kits. The glue and resin came from eBay.
Tools
- Hand plane
- Block plane
- Spokeshave
- Tenon saw
- Coping saw
- 120 grit sandpaper
- 1,000 grit sandpaper
- Screwdriver
- Six clamps
Method
The 10° angle between the blade and the shaft is made by bent lamination: gluing thin strips of wood together and clamping them at an angle. In this case I made a jig out of some scrap wood, which was just two lengths of wood screwed into a flat board, with a 10° angle between them. The one that braced the blade was 50cm long and the one that braced the shaft was 1.5m long.
I laid out the 5mm strips of paulownia, glued each one and stacked them against the jig, then clamped the whole lot together.
When the glue set the angle held and I had the beginnings of a paddle. I glued the two strips of red cedar and two remaining blocks of paulownia to either side of the blade part of the shaft and clamped it all together, to make a big shovel shape.
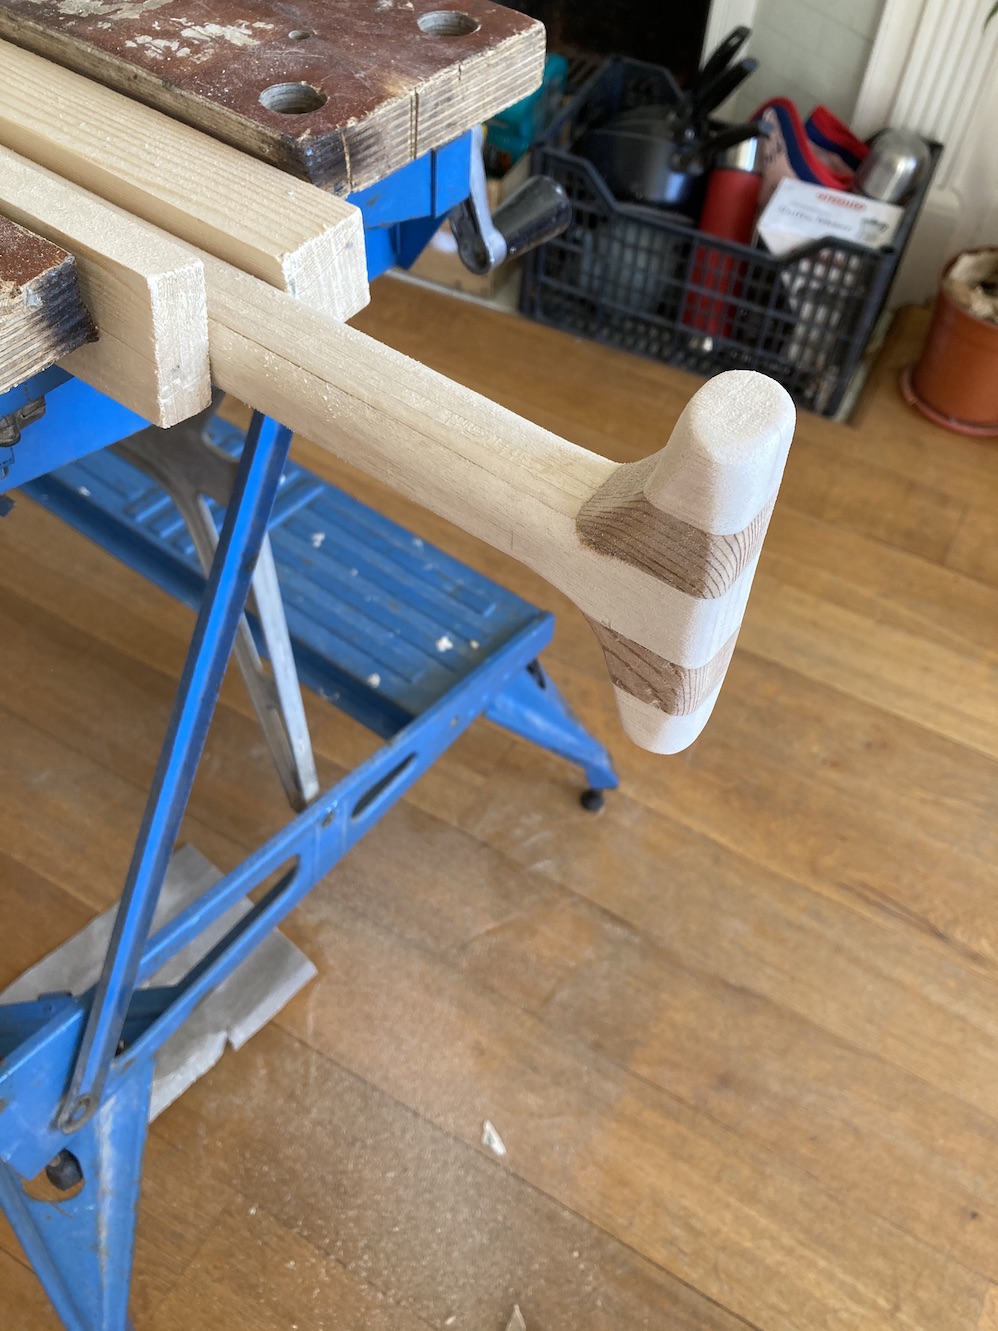
I used a spokeshave to round off the corners of the shaft. I left about 10cm at the top unshaved so I could glue on pieces to make the handle later.
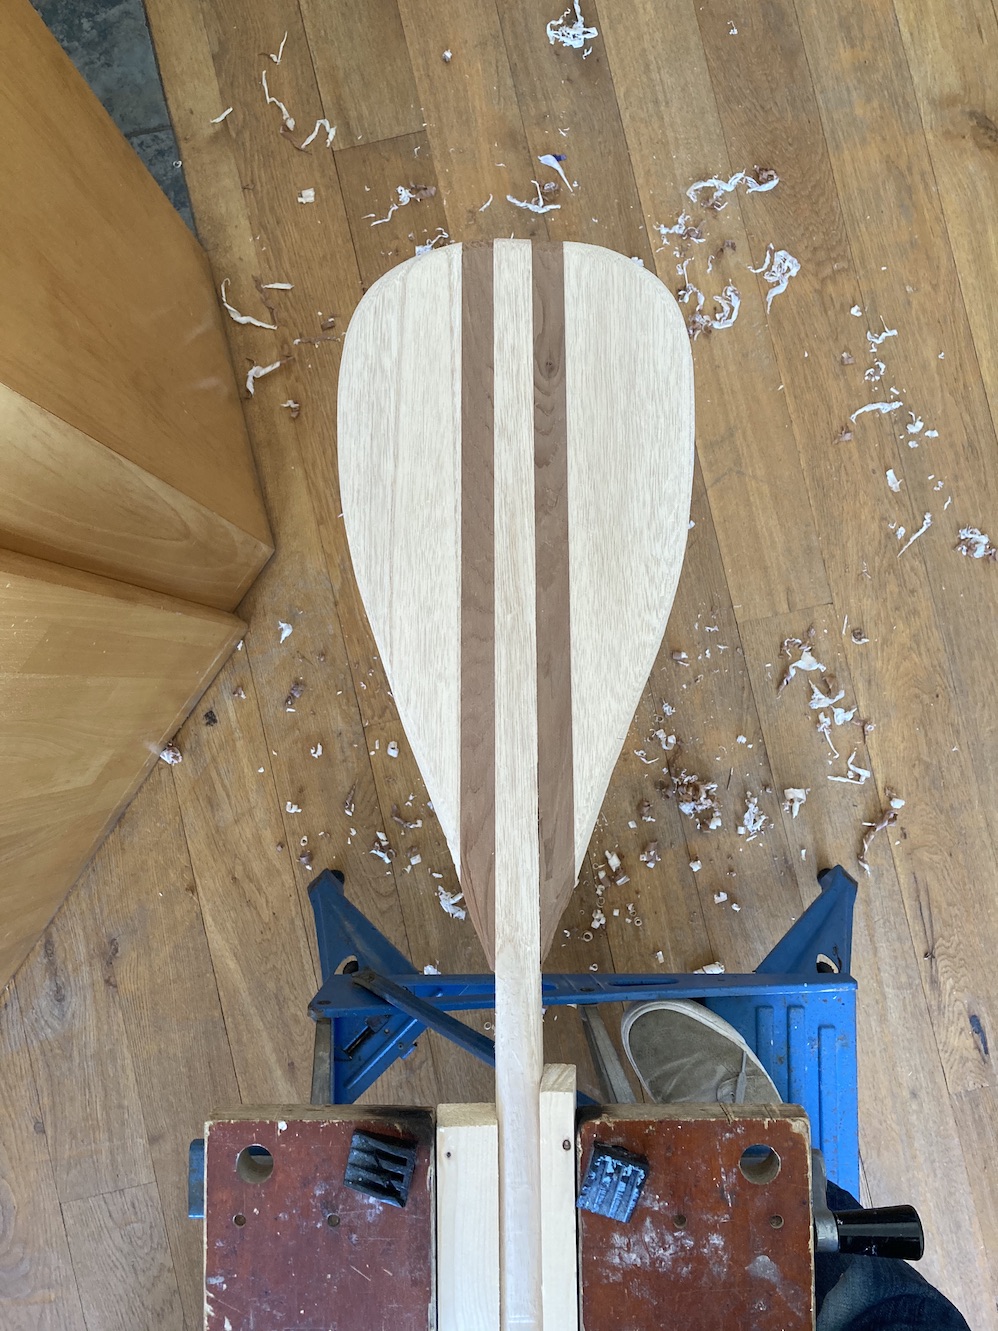
Next I drew around my template on to the shovel shape and cut it out with the coping saw.
From this point on it was shaping with hand tools, which was tons of fun. I went at it with a block plane, taking a lot of weight out of the blade and then shaping the curves with the spokeshave. Bringing together the curves of the blade and the shaft was especially satisfying.
Next I sanded the whole thing and brushed on a coat of bio resin.
It was looking handsome until I put the bio resin on, but afterwards it looked shiny and plasticy. I sanded it with the 1,000 grit sandpaper and brushed on another coat, waited two weeks and sanded again. It looked much better. You have to leave it two weeks before you sand to be sure the resin has cured. I sanded the second coat and then it was ready for sea trials…
Results
Success! This is my everyday paddle now. It’s lighter than my aluminium paddle, feels great in the hand and looks handsome.
Lessons
- Use straight wood for the jig, or it’ll twist your work and you’ll need to plane the shaft
- Secure the jig well or it’ll twist the work. Brackets aren’t enough
- Use the longest strokes possible when planing
- Brush epoxy carefully and brush all the way to the bottom of the work
- Try to avoid getting bubbles in the epoxy when mixing in the hardener
- Give yourself enough room to access all parts of the work when epoxying
- Epoxy in good daylight
- 150ml of mixed epoxy and hardener is more than enough for a coat of the whole paddle
Next time
- Make the blade much thinner
- Ash might look better than paulownia
- I probably need a smaller blade
- Consider thinner strips of cedar next time
- Consider using double concave instead of dihedral
- Consider making the shaft a couple of centimetres longer


