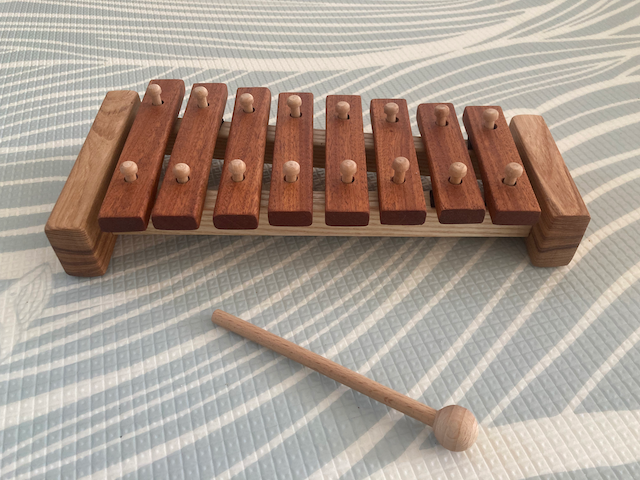
I made a toy xylophone for a toddler. It was a fun project and it didn’t require any woodworking skill - or any tools beyond a tenon saw and a drill - but it did take a while to get my head around some of the parts. I’ve put together a few notes here in the hope they’ll help someone who wants to do the same thing.
The rules of xylophone keys
- The keys must be roughly twice as wide as they are deep. I went for 25mm x 12mm.
- The harder the wood, the better the keys will ring. Wood hardness is measured using the Janka test. I used sapele, from Fyne Boat Kits.
- The holes (or “nodes”) go 22% of the length from each end. I drilled 8mm diameter holes.
- The note will ring better if you sand away the material on the bottom of the key, between the nodes, to half the total depth of the key. For me this was ~6mm.
- The more material you remove the lower the frequency.
Making the keys
- Decide how long you want your longest key to be. I wanted mine to be 150mm - any bigger would have been too unwieldy for a toddler.
- Cut that length of hardwood. Drill 8mm holes 22% of the way from each end. For a 150mm key that’s 33mm from each end.
- Mark a line halfway down the thin edges.
- Sand between the nodes down to the line.
- As you get close to the line test the frequency by placing the key on a sponge next to a tuner, donking the key with a pencil and seeing which note registers on the tuner. I experiemented with a few tuners before settling on one for iOS called Tuner, by Tim Roesner. The other tuners showed so many different notes it was hard to understand what was going on.
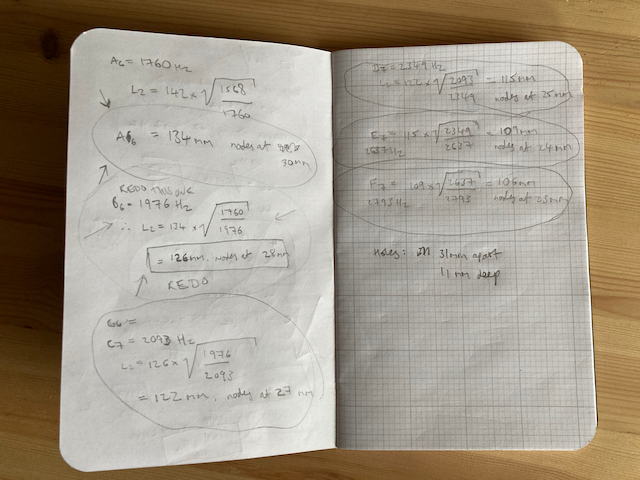
- Keep sanding and checking the frequency until you hit a note (A, B, C, D, E, F or G - ignore sharps and flats). For me this was an F. The tuner indicated it was F6 (1,397Hz). You now have your first key.
- We want eight keys, moving up through the notes, without any sharps or flats. In my case the keys will be F, G, A, B, C, D, E, F.
- To get the length of the next key we use the formula

- L2 is the length of the next key. L1 is the length of the key we’ve made. F1 is the frequency of the key we’ve made and F2 is the frequency of the next key.
- Use this table to get the frequency of the key you’ve already made. My first key was an F6, which the table says is 1,397Hz.
- Use the table to get the frequency of the next key. Going down the table from F6, the next note that isn’t a sharp or a flat is G6, which is listed as 1,568Hz.
- Now we have L1 (150), F1 (1397) and F2 (1568) we can plug them in to the formula to get L2 - the length of the next key. In this case 142mm. Now you can cut that key, sand and tune it.
- Repeat this process until you have eight keys.
- At this point I used a spokeshave to take the sharp corners off and then gave all the keys a light sanding. This does change the tuning but not by much.
Mounting the keys
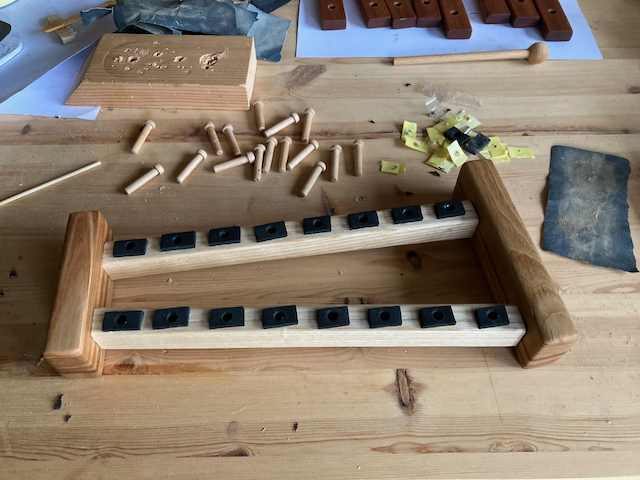
The more freedom the keys have to vibrate, the better they’ll sound. I stuck this 5mm foam tape to the frame, so the keys could sit on top of that and vibrate nicely.
I used these wooden pegs - which are sold as “wooden toy wheel axle pegs” - to secure the keys to the frame. The pegs are 6mm in diameter and the keys have 8mm holes in, so they have some freedom to move. I drilled 6mm holes through the foam tape and into the frame, then put a dab of glue on the end of each peg and carefully passed them through the key and foam into the frame.


